Overview
The Community Information page allows Community Admins and users with the appropriate permissions to configure the core details of a community. From this page, you can manage your community's branding, visibility, membership settings, and profile information that members see when they visit your community.
Keeping this information accurate helps members understand your community and creates a consistent experience across the platform.
Access Community Information
The Community Information page is available only to Community Admins and users assigned a custom role with permission to manage community settings.
To access Community Information:
- Open the community you want to manage.
- Click Settings.
- Select Community Information.
If you don't see this option, your role doesn't include permission to manage community settings.
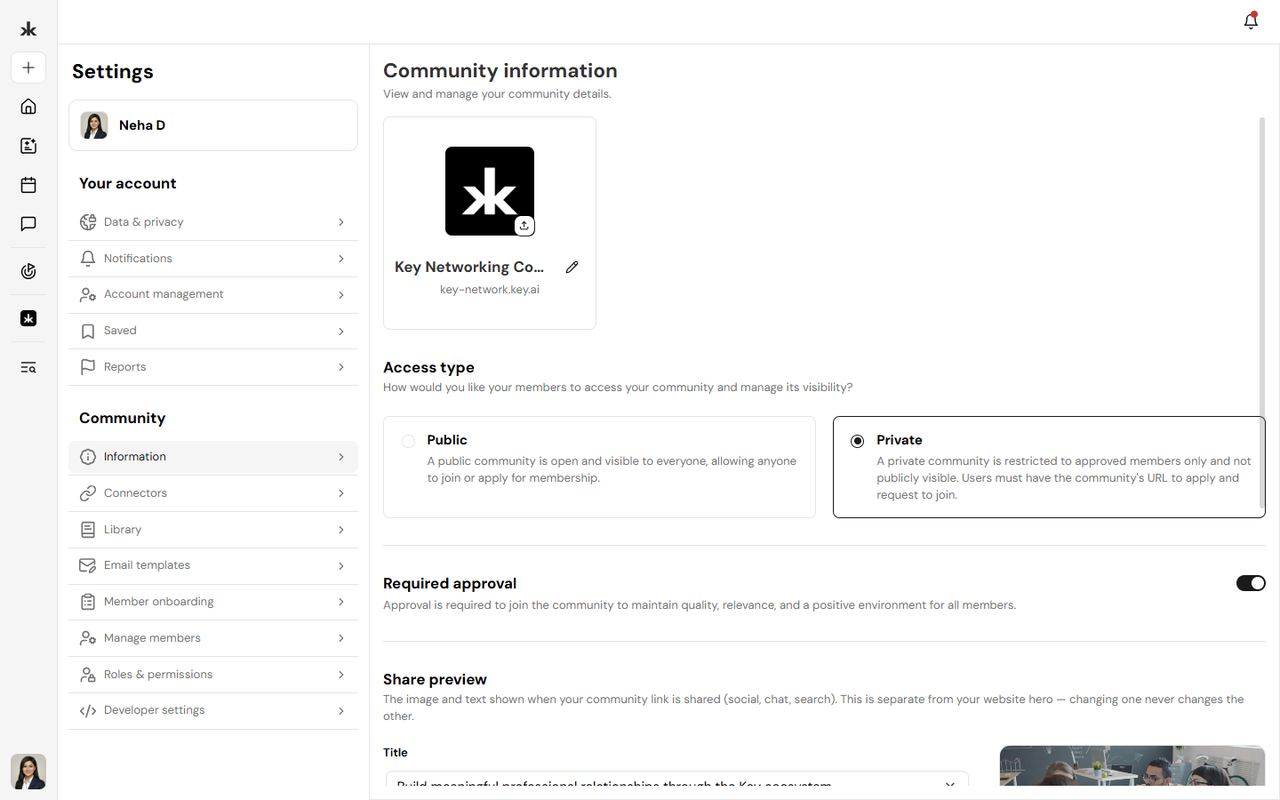
Manage Community Visibility
You can control who can discover and join your community.
Public
Anyone with access to the community can discover and join it.
Private
Only invited members or users whose membership requests are approved can access the community. Changing the visibility setting affects how new members can access your community.
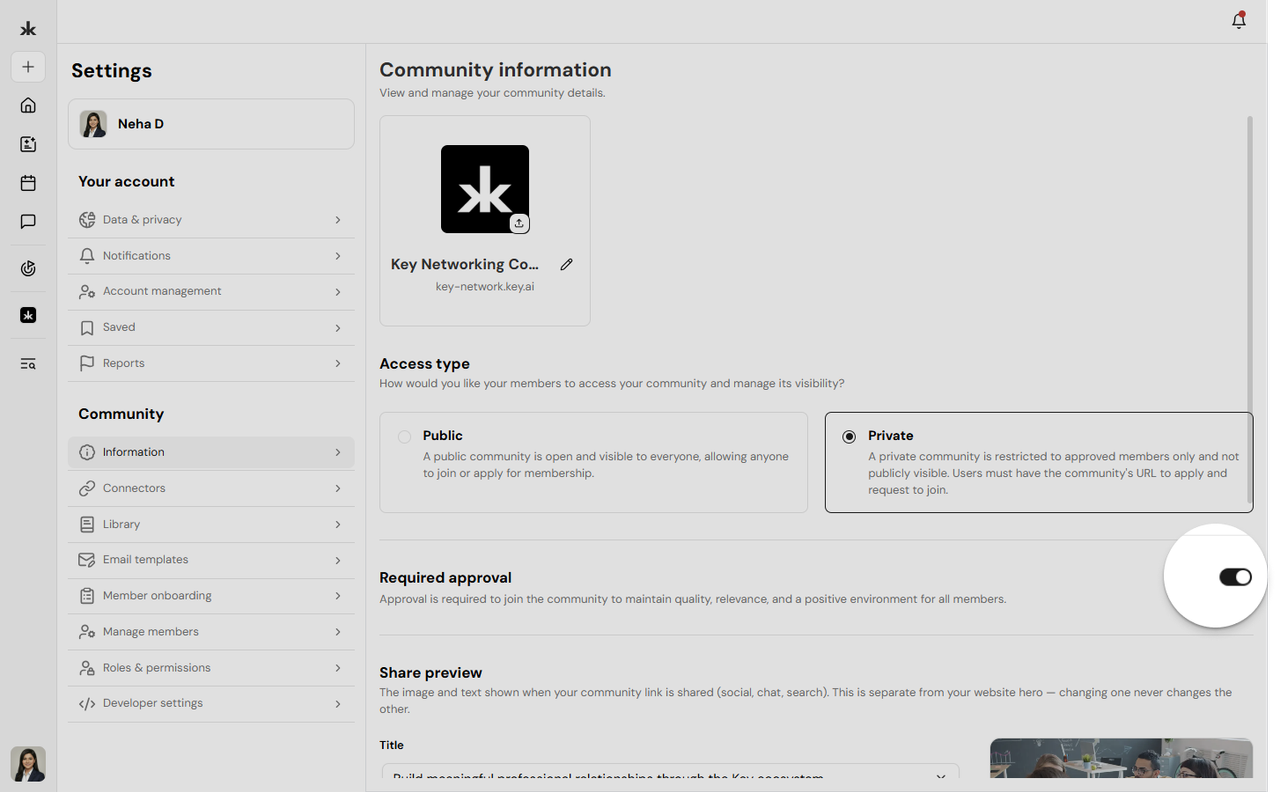
Membership Approval
You can choose whether new membership requests require approval before users can join the community.
- Enabled - Membership requests must be approved by a Community Admin.
- Disabled - Eligible users can join the community without requiring approval.
This setting provides additional control over who becomes a member of your community.
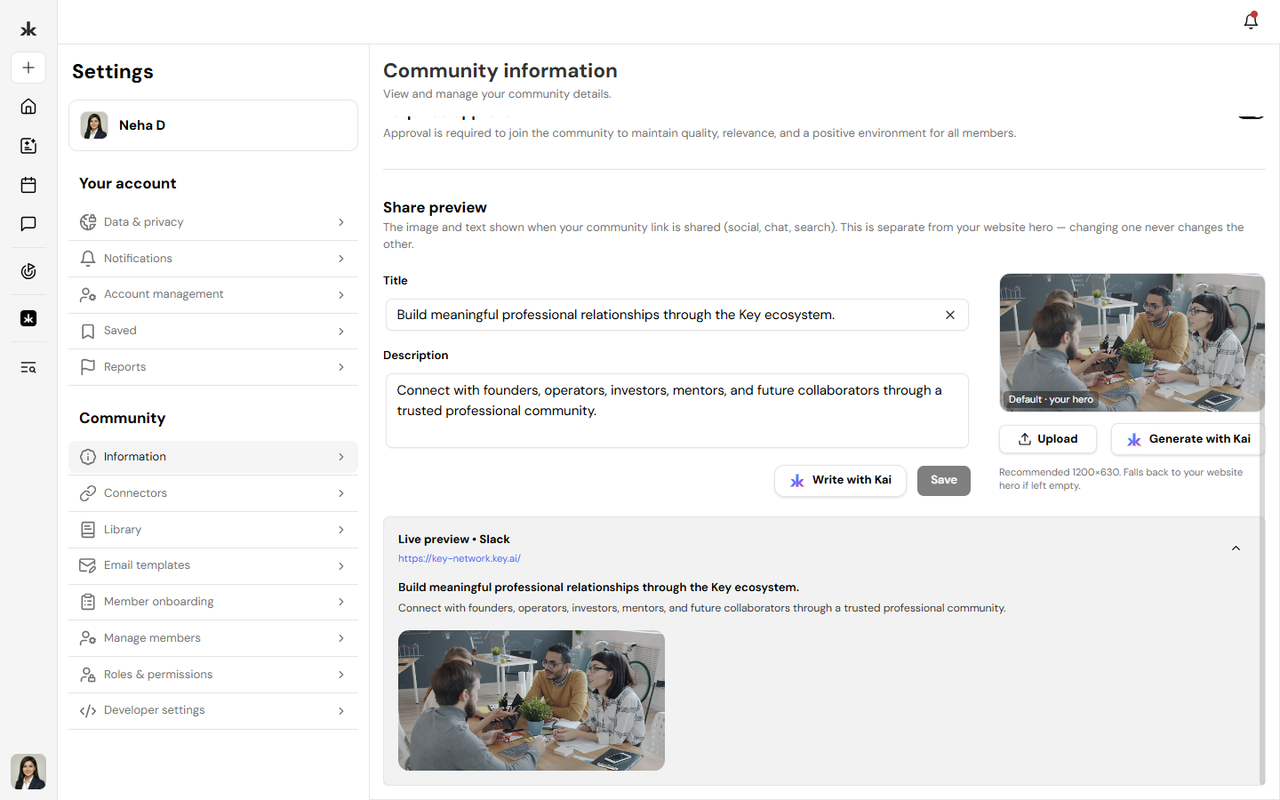
Update Community Branding
Community Information allows you to customize how your community appears to members.
You can update:
- Community banner image
- Community logo
- Community name
- Community description
Branding changes are reflected throughout the community once they are saved.
Save Your Changes
After making updates:
- Review your changes.
- Click Save.
- Your updates will be reflected throughout the community.
You can return and update your community information at any time.
Best Practices
- Use a clear and recognizable community name.
- Upload a high-quality logo and banner image.
- Write a concise description that explains your community's purpose.
- Enable membership approval for communities that require controlled access.
- Review your community information regularly to keep it accurate and up to date.
Frequently Asked Questions
Who can edit Community Information?
Only Community Admins and users with the appropriate community management permissions.
Can I change my community's visibility later?
Yes. You can switch between Public and Private at any time.
Can I update my community logo or banner?
Yes. Your community branding can be updated whenever needed.
Can I require approval before users join?
Yes. You can enable Membership Approval so new join requests must be approved by a Community Admin.
Do changes appear immediately?
Yes. Once you save your changes, the updated information is reflected throughout the community.
- Community Visibility Settings
- Membership Approval Toggle
- Community Branding
- Community Profile